How to Shoot Cinematic Videos on iPhone

Shooting cinematic videos on an iPhone has become increasingly popular due to the advanced camera technology and software capabilities available in recent models. Whether you’re a beginner or an experienced videographer, understanding the key techniques and tools will allow you to elevate your video production game. This guide explores the essential steps to create stunning, professional-quality videos using your iPhone.
Understanding iPhone Cinematic Features
Modern iPhones, particularly from the iPhone 12 onwards, come equipped with features that make capturing cinematic footage straightforward. These include high-resolution sensors, stabilisation technologies, and advanced video modes. However, effectively utilising these features requires familiarity and practice.
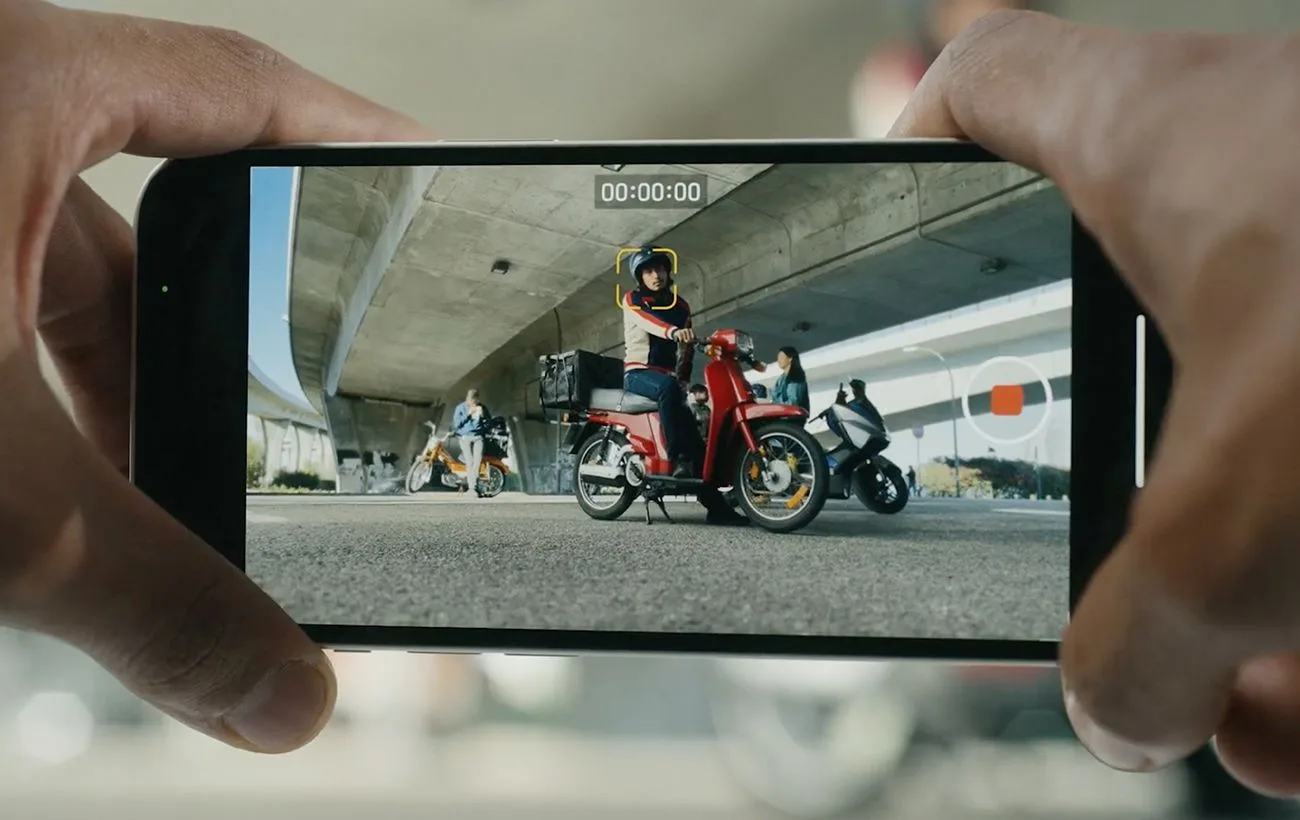
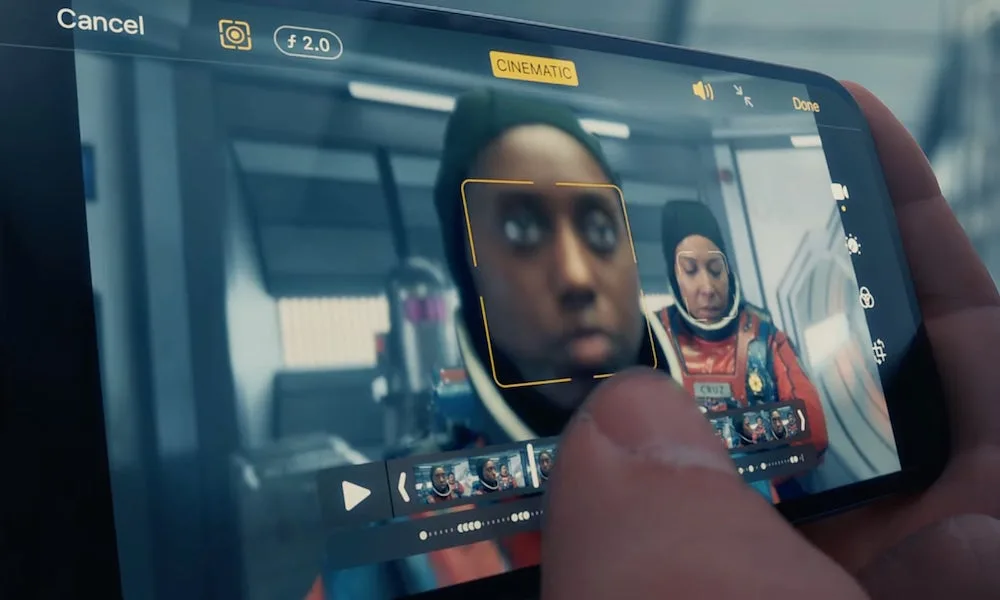
The Cinematic Mode, introduced with the iPhone 13, is one of the standout features. It allows users to create a shallow depth of field effect, focusing on subjects while softly blurring the background. This feature adds a professional look to your videos by mimicking the capabilities of high-end cameras. Another significant feature is ProRes video, available on Pro models. It delivers higher-quality video files, which are ideal for post-production editing and maintaining clarity during compression.
HDR and Dolby Vision are additional tools that elevate the quality of your footage. HDR ensures a higher dynamic range, capturing more details in both shadows and highlights. Dolby Vision further enhances colours, contrast, and brightness, resulting in vivid and engaging visuals. These technologies work together to produce content that looks polished straight from the camera.
Maximising Your Camera Settings
To fully utilise these cinematic features, it is essential to configure your iPhone settings properly. Start by selecting the highest resolution and frame rate available on your device, such as 4K at 60fps. Enable stabilisation to ensure smooth footage, especially for handheld shots. Additionally, use manual focus and exposure controls for precise adjustments during filming.
Experiment with these settings to find the right balance for different types of scenes. For instance, slow-motion videos benefit from higher frame rates, while narrative scenes often require standard frame rates with enhanced colour grading in post-production.
Mastering Composition and Lighting
Achieving a cinematic look involves more than just advanced camera features. Composition and lighting are fundamental aspects of visual storytelling that require deliberate attention. Without these elements, even the most technically sound footage can fall flat.
Composition refers to how elements are arranged within the frame. Using the rule of thirds is an excellent starting point for creating visually appealing shots. This involves dividing the frame into a grid of nine equal parts and placing key subjects along the gridlines or intersections. Framing your shots with symmetry or incorporating leading lines can also draw the viewer’s attention to the focal point.
Lighting dramatically impacts the mood and tone of your video. Shooting during the golden hour—shortly after sunrise or before sunset—provides warm, soft light that enhances the aesthetic quality of outdoor scenes. For indoor settings, consider using artificial lights like softboxes to control the intensity and direction of light. Pay attention to shadows, as they can add depth and dimension to your shots when used creatively.
Practical Tips for Consistent Results
Before starting your shoot, scout your location to identify the best angles and lighting conditions. Use props or natural elements in the environment to frame your shots creatively. Always review your footage on a larger screen to ensure details are captured as intended. Consistent practice and experimentation with different techniques will refine your skills over time.
Additionally, stabilise your shots by using tripods or gimbals. These tools not only reduce shakiness but also enable smooth transitions and pans, elevating the overall quality of your video. Combining stabilisation with thoughtful composition and lighting will significantly improve the cinematic feel of your footage.

Post-Production Enhancements
Post-production is the final and often most critical step in achieving a cinematic video. It allows you to refine the raw footage, correct imperfections, and add creative elements that enhance the storytelling aspect. Many iPhone users overlook this phase, but it is essential for professional-grade results.
Editing software, such as iMovie and Final Cut Pro, provides tools for trimming, colour grading, and adding transitions. Start by organising your clips into a coherent sequence that aligns with your narrative. Apply colour corrections to maintain consistency across all shots and experiment with filters to create a specific mood or tone.
Sound design is another important aspect of post-production. Background music, ambient sounds, and sound effects can elevate the emotional impact of your video. Choose audio elements that complement the visuals and reinforce the intended atmosphere. Always ensure that the sound levels are balanced and do not overpower the dialogue or main audio tracks.
Adding the Finishing Touches
As you finalise your video, review every detail to ensure it aligns with your creative vision. Pay attention to transitions, ensuring they are smooth and unobtrusive. Export your project in the highest resolution supported by your platform for optimal viewing quality. By dedicating time and effort to post-production, you can transform raw footage into a cinematic masterpiece.
In conclusion, creating cinematic videos on an iPhone is a rewarding endeavour that combines technical expertise with artistic expression. With the right techniques and tools, your videos can rival those produced with professional equipment, allowing you to share compelling stories with your audience.
